Githubのリリースノートをちゃんと運用しようと書き始めてみたがなかなか大変で、特に本文にどういう変更があったのかをいちいち書いていくのに時間がかかっていた
そんなときRelease Drafterというツールを教えてもらったので使ってみた
Release Drafterとは?
プルリクがmasterブランチにマージされたらリリースノートのドラフトを作成してくれるGithub Actionsのアクション
以下のことをやってくれる
- 自動的に次のバージョン番号を提案
- テンプレートを使ったタイトルを生成
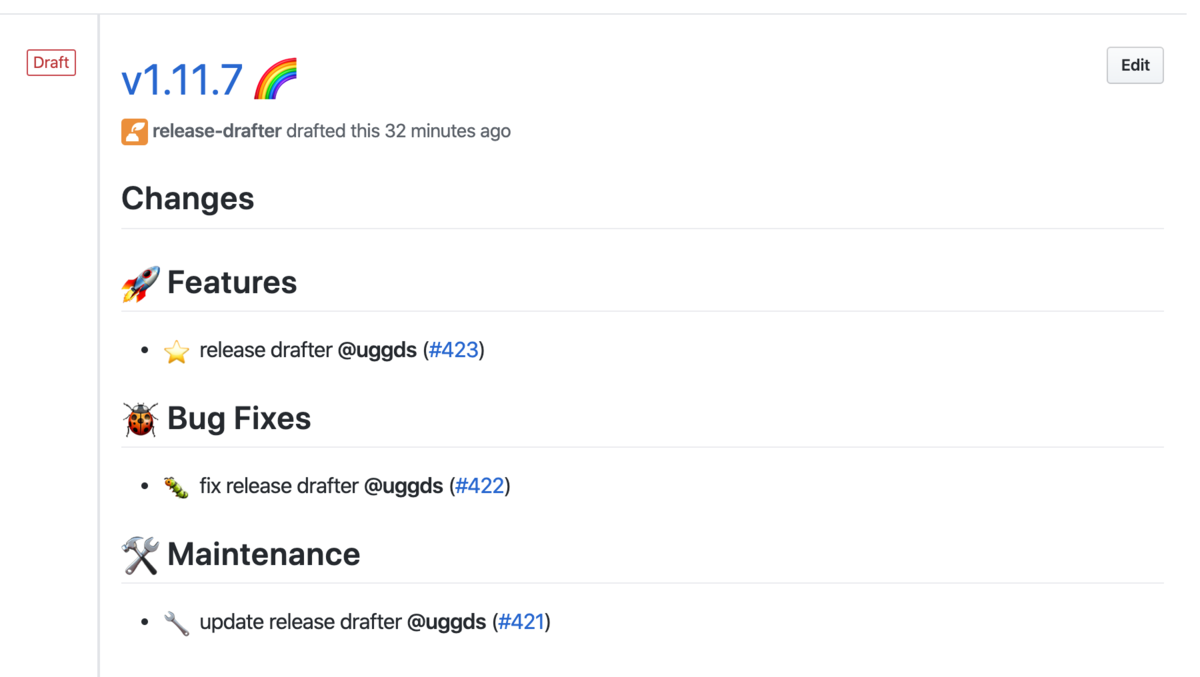
- プルリクに付けたラベル毎に変更をカテゴライズし本文に記載する
実際やってみたらこんな感じでいい感じにリリースノートを作ってくれて便利!
始め方
まずRelease Drafterを指定のレポジトリにインストールする
次に、ドキュメント通りに.github/workflows/release-drafter.ymlに以下を記述する
name: Release Drafter

on:
  push:
    # branches to consider in the event; optional, defaults to all
    branches:
      - master

jobs:
  update_release_draft:
    runs-on: ubuntu-latest
    steps:
      # Drafts your next Release notes as Pull Requests are merged into "master"
      - uses: release-drafter/release-drafter@v5
        with:
          # (Optional) specify config name to use, relative to .github/. Default: release-drafter.yml
          # config-name: my-config.yml
        env:
          GITHUB_TOKEN: ${{ secrets.GITHUB_TOKEN }}

name-template: 'v$NEXT_PATCH_VERSION 🌈'
tag-template: 'v$NEXT_PATCH_VERSION'
categories:
  - title: '🚀 Features'
    labels:
      - 'feature'
      - 'enhancement'
  - title: '🐛 Bug Fixes'
    labels:
      - 'fix'
      - 'bugfix'
      - 'bug'
  - title: '🧰 Maintenance'
    label: 'chore'
change-template: '- $TITLE @$AUTHOR (#$NUMBER)'
template: |
  ## Changes

  $CHANGES
このとき、この部分がラベル毎にカテゴライズする時のタイトルとラベルの関係を定義しているので適宜変更する(絵文字変えてみた)
categories:
  - title: '🚀 Features'
    labels:
      - 'feature'
      - 'enhancement'
  - title: '🐞 Bug Fixes'
    labels:
      - 'fix'
      - 'bugfix'
      - 'bug'
  - title: '🛠 Maintenance'
    label: 'chore'
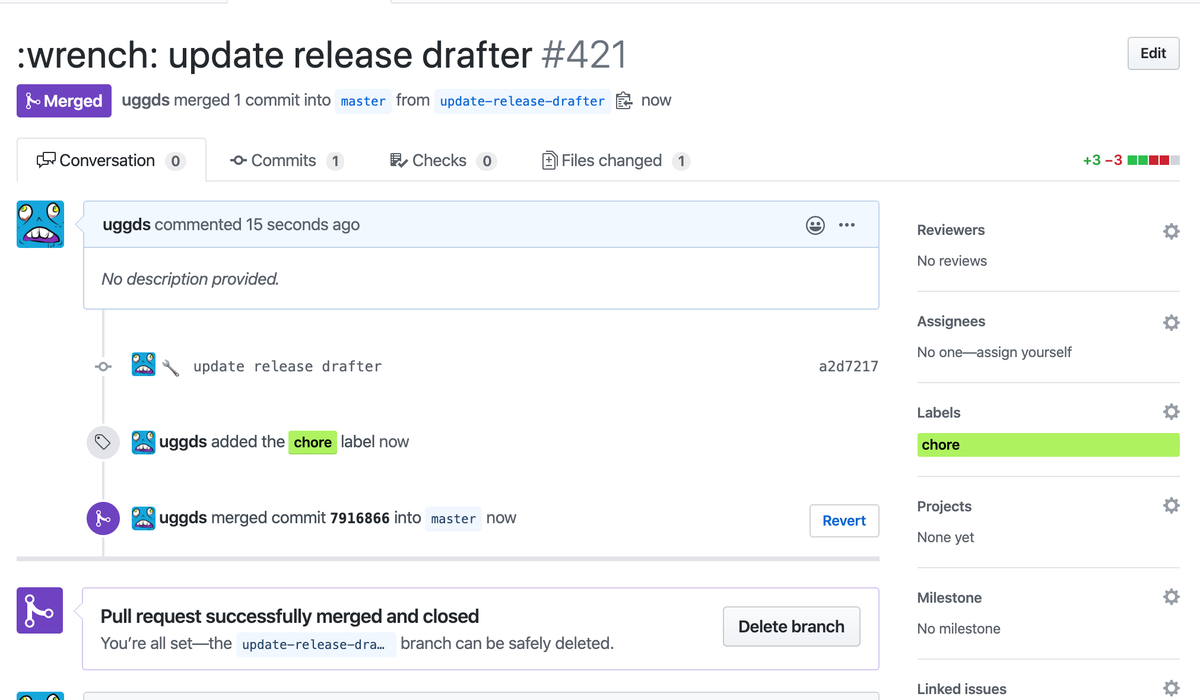
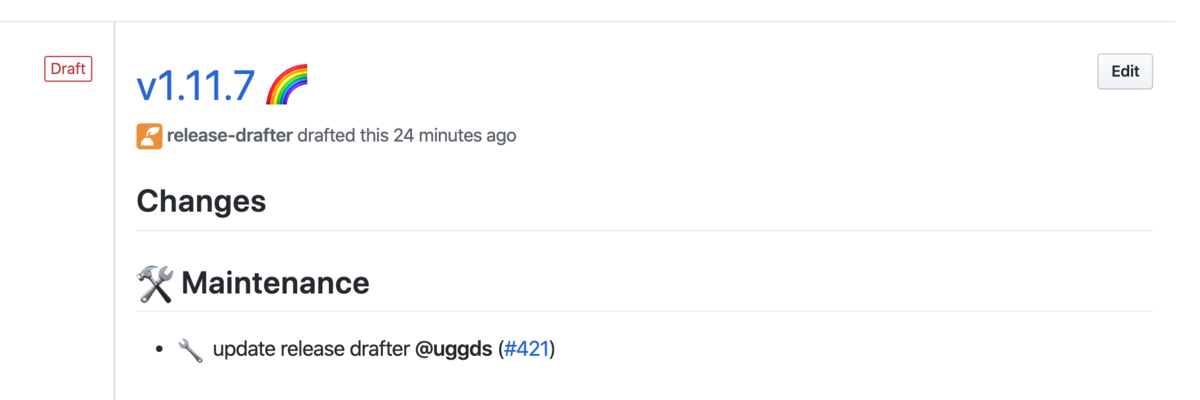
この定義をmasterに取り込んだ後、プルリクをだしてmasterにマージすると、
自動的にドラフトがつくられる!
手間だったリリースノート作成が楽になった〜!